एकता के लिए 3डी वर्म नियंत्रक ट्यूटोरियल
इस ट्यूटोरियल में, मैं दिखाऊंगा कि Unity में एक सरल वर्म कंट्रोलर कैसे बनाया जाए, जो TornadoTwins शुरुआती गेम डेवलपमेंट ट्यूटोरियल श्रृंखला से प्रेरित है।
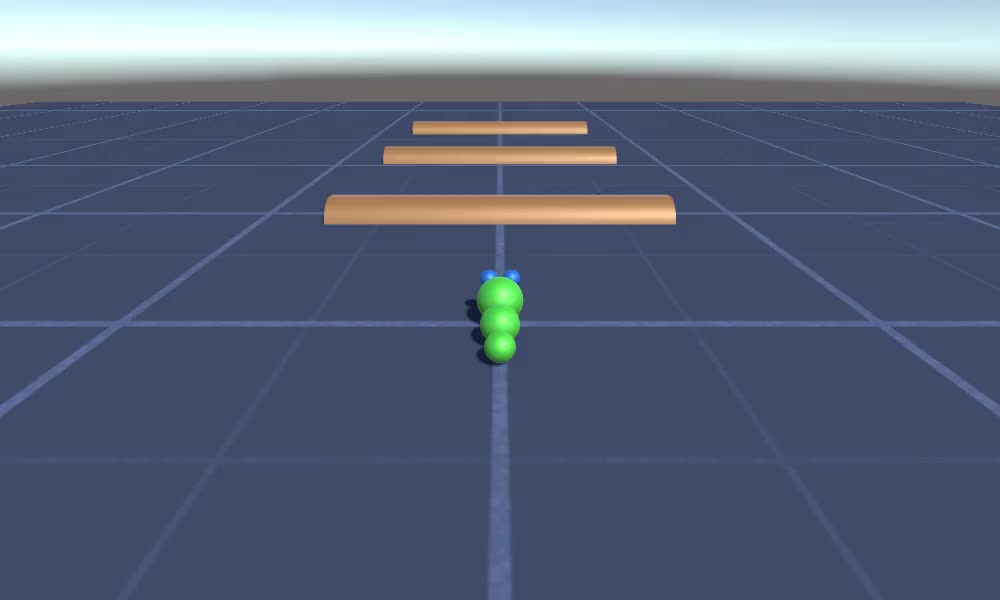
वर्म नियंत्रक एक चिकने टेल-फ़ॉलो प्रभाव के साथ इधर-उधर घूमेगा और कूदने की क्षमता रखेगा।
इस ट्यूटोरियल की स्क्रिप्ट मूल रूप से जावास्क्रिप्ट (उर्फ यूनिटीस्क्रिप्ट) में लिखी गई थी जो अब समर्थित नहीं है, इसलिए मैं एक C# विकल्प प्रदान करूंगा।
Unity में एक वर्म कंट्रोलर बनाने के लिए हमें इसकी आवश्यकता होगी:
- आवश्यक स्क्रिप्ट बनाएं
- एक कृमि चरित्र बनाएँ
- चरित्र को स्क्रिप्ट सौंपें
चरण 1: सभी आवश्यक स्क्रिप्ट बनाएं
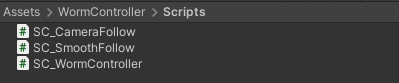
आइए वे सभी स्क्रिप्ट बनाकर शुरुआत करें जिनकी वर्म नियंत्रक स्थापित करने के लिए आवश्यकता होगी:
- एक नई स्क्रिप्ट बनाएं, इसे "SC_WormController" कहें और इसके अंदर नीचे दिया गया कोड पेस्ट करें:
SC_WormController.cs
using System.Collections;
using System.Collections.Generic;
using UnityEngine;

[RequireComponent(typeof(CharacterController))]
public class SC_WormController : MonoBehaviour
{
    public float speed = 3.0f;
    public float rotateSpeed = 1.0f;
    public float jumpSpeed = 5.0f;
    public float gravity = 9.8f;

    CharacterController controller;
    Vector3 moveDirection;

    // Start is called before the first frame update
    void Start()
    {
        controller = GetComponent<CharacterController>();
    }

    // Update is called once per frame
    void Update()
    {
        // Rotate around y - axis
        transform.Rotate(0, Input.GetAxis("Horizontal") * rotateSpeed, 0);

        // Move forward / backward
        Vector3 forward = transform.TransformDirection(Vector3.forward);
        float curSpeed = speed * Input.GetAxis("Vertical");
        float movementDirectionY = moveDirection.y;
        moveDirection = forward * curSpeed;

        // Jumping
        if (Input.GetButtonDown("Jump") && controller.isGrounded)
        {
            moveDirection.y = jumpSpeed;
        }
        else
        {
            moveDirection.y = movementDirectionY;
        }

        // Apply gravity. Gravity is multiplied by deltaTime twice (once here, and once below
        // when the moveDirection is multiplied by deltaTime). This is because gravity should be applied
        // as an acceleration (ms^-2)
        if (!controller.isGrounded)
        {
            moveDirection.y -= gravity * Time.deltaTime;
        }

        // Move the controller
        controller.Move(moveDirection * Time.deltaTime);
    }
}- एक नई स्क्रिप्ट बनाएं, इसे "SC_CameraFollow" कहें और इसके अंदर नीचे दिया गया कोड पेस्ट करें:
SC_CameraFollow.cs
using System.Collections;
using System.Collections.Generic;
using UnityEngine;

public class SC_CameraFollow : MonoBehaviour
{
    /*
    This camera smoothers out rotation around the y-axis and height.
    Horizontal Distance to the target is always fixed.

    There are many different ways to smooth the rotation but doing it this way gives you a lot of control over how the camera behaves.

    For every of those smoothed values we calculate the wanted value and the current value.
    Then we smooth it using the Lerp function.
    Then we apply the smoothed values to the transform's position.
    */

    // The target we are following
    public Transform target;
    // The distance in the x-z plane to the target
    public float distance = 10.0f;
    // the height we want the camera to be above the target
    public float height = 5.0f;
    // How much we
    public float heightDamping = 2.0f;
    public float rotationDamping = 3.0f;

    void LateUpdate()
    {
        // Early out if we don't have a target
        if (!target)
            return;

        // Calculate the current rotation angles
        float wantedRotationAngle = target.eulerAngles.y;
        float wantedHeight = target.position.y + height;
        float currentRotationAngle = transform.eulerAngles.y;
        float currentHeight = transform.position.y;

        // Damp the rotation around the y-axis
        currentRotationAngle = Mathf.LerpAngle(currentRotationAngle, wantedRotationAngle, rotationDamping * Time.deltaTime);

        // Damp the height
        currentHeight = Mathf.Lerp(currentHeight, wantedHeight, heightDamping * Time.deltaTime);

        // Convert the angle into a rotation
        Quaternion currentRotation = Quaternion.Euler(0, currentRotationAngle, 0);

        // Set the position of the camera on the x-z plane to:
        // distance meters behind the target
        transform.position = target.position;
        transform.position -= currentRotation * Vector3.forward * distance;

        // Set the height of the camera
        transform.position = new Vector3(transform.position.x, currentHeight, transform.position.z);

        // Always look at the target
        transform.LookAt(target);
    }
}- एक नई स्क्रिप्ट बनाएं, इसे "SC_SmoothFollow" कहें और इसके अंदर नीचे दिया गया कोड पेस्ट करें:
SC_SmoothFollow.cs
using System.Collections;
using System.Collections.Generic;
using UnityEngine;

public class SC_SmoothFollow : MonoBehaviour
{
    // The target we are following
    public Transform target;
    // The distance in the x-z plane to the target
    public float distance = 10.0f;
    // the height we want the camera to be above the target
    public float height = 5.0f;
    // How much we
    public float heightDamping = 2.0f;
    public float rotationDamping = 3.0f;

    // Start is called before the first frame update
    void Start()
    {
        if (!target) return;

        transform.LookAt(target);
    }

    void LateUpdate()
    {
        // Early out if we don't have a target
        if (!target) return;

        // Calculate the current rotation angles
        float wantedRotationAngle = target.eulerAngles.y;
        float wantedHeight = target.position.y + height;

        float currentRotationAngle = transform.eulerAngles.y;
        float currentHeight = transform.position.y;

        // Damp the rotation around the y-axis
        currentRotationAngle = Mathf.LerpAngle(currentRotationAngle, wantedRotationAngle, rotationDamping * Time.deltaTime);

        // Damp the height
        currentHeight = Mathf.Lerp(currentHeight, wantedHeight, heightDamping * Time.deltaTime);

        // Convert the angle into a rotation
        var currentRotation = Quaternion.Euler(0, currentRotationAngle, 0);

        // Set the position of the camera on the x-z plane to:
        // distance meters behind the target
        transform.position = target.position;
        transform.position -= currentRotation * Vector3.forward * distance;

        // Set the height of the camera
        transform.position = new Vector3(transform.position.x, currentHeight, transform.position.z);

        // Always look at the target
        transform.LookAt(target);
    }
}
चरण 2: एक कृमि चरित्र बनाएँ
अगला कदम एक कृमि चरित्र बनाना है:
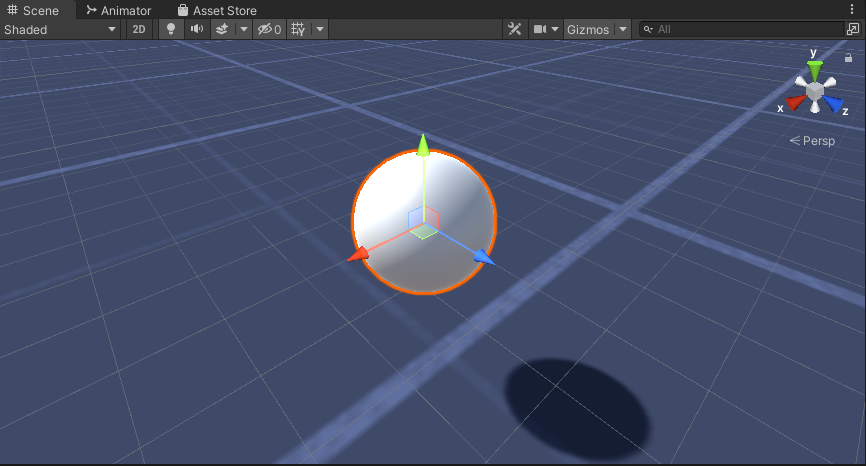
- एक नया क्षेत्र बनाएं (GameObject -> 3D ऑब्जेक्ट -> क्षेत्र) इसकी स्थिति को (0, 0, 0) में बदलें, इसके SphereCollider घटक को हटाएं, और इसका नाम बदलें "Worm"
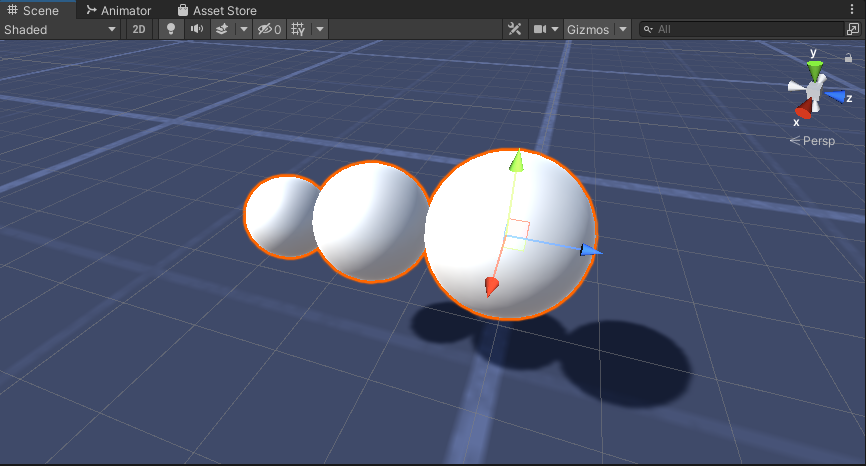
- "Worm" क्षेत्र को डुप्लिकेट करें, इसका नाम बदलकर "BodyPart1" करें, इसकी स्थिति को (0, -0.1, -0.9) में बदलें, और इसके पैमाने को (0.8, 0.8, 0.8) में बदलें।
- "Worm" गोले को फिर से डुप्लिकेट करें, इसका नाम बदलकर "BodyPart2" करें, इसकी स्थिति को (0, -0.2, -1.6) में बदलें, और इसके पैमाने को (0.6, 0.6, 0.6) में बदलें।
- "Worm" ऑब्जेक्ट पर राइट-क्लिक करें -> खाली बनाएं और नव निर्मित ऑब्जेक्ट का नाम बदलें "Eyes"
- "BodyPart2" गोले की नकल बनाएं, इसका नाम बदलकर "Eye" रखें और इसे "Eyes" ऑब्जेक्ट के अंदर ले जाएं, इसकी स्थिति को (-0.24, 0.353, 0.324) में बदलें और इसके पैमाने को (0.4, 0.4, 0.4) में बदलें।
- "Eye" गोले को डुप्लिकेट करें और इसकी X स्थिति को 0.24 में बदलें
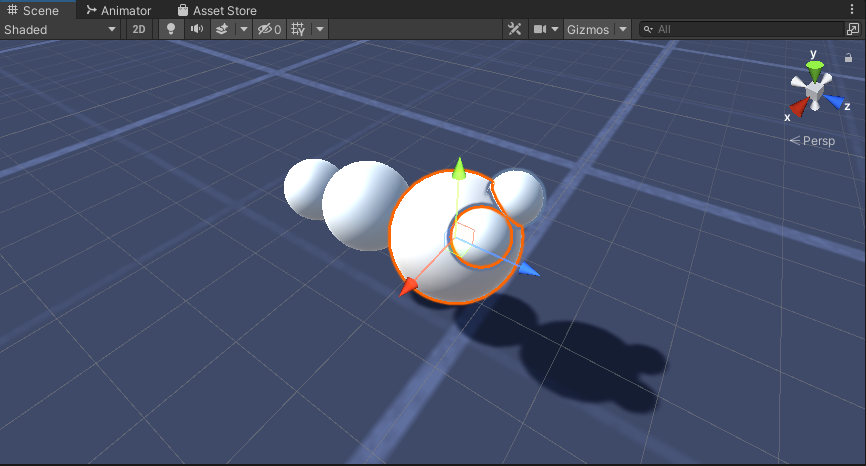
- विज़ुअलाइज़ेशन के लिए, आप कुछ सामग्रियां बना सकते हैं, उदाहरण के लिए, शरीर के लिए हरा और आंखों के लिए नीला।
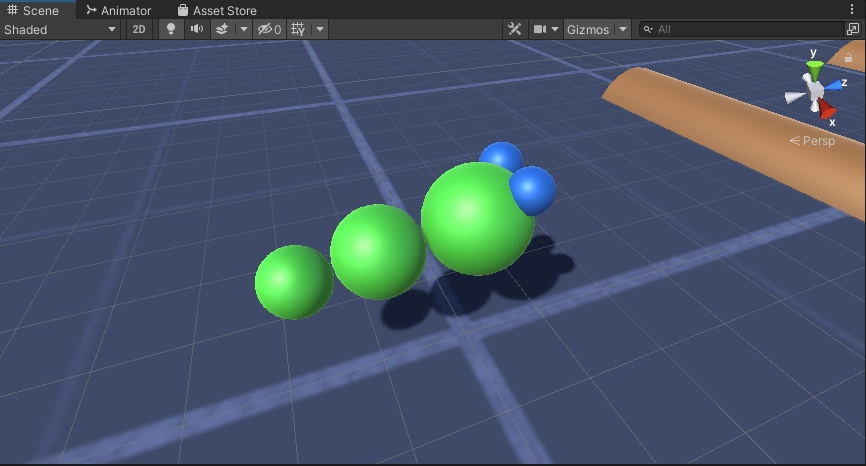
कृमि चरित्र तैयार है.
चरण 3: वर्म नियंत्रक स्थापित करें
अंतिम चरण स्क्रिप्ट असाइन करना है:
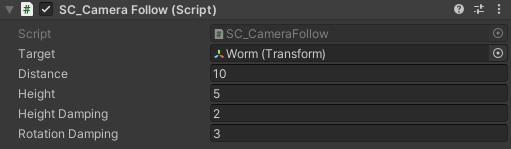
- मुख्य कैमरा ऑब्जेक्ट में SC_CameraFollow स्क्रिप्ट संलग्न करें और लक्ष्य चर के लिए "Worm" क्षेत्र निर्दिष्ट करें:
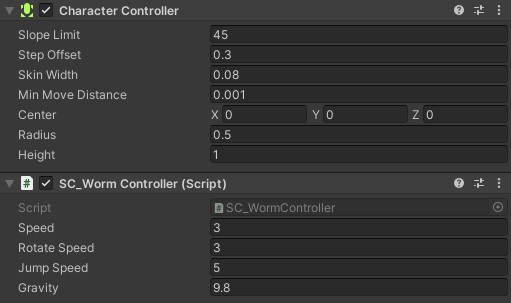
- SC_WormController स्क्रिप्ट को "Worm" क्षेत्र में संलग्न करें (यह स्वचालित रूप से कैरेक्टरकंट्रोलर नामक एक अन्य घटक जोड़ देगा):
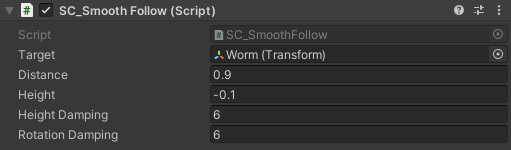
- SC_SmoothFollow स्क्रिप्ट को को "BodyPart1" क्षेत्र में संलग्न करें और इसके मानों को नीचे दिए गए स्क्रीनशॉट के समान सेट करें:
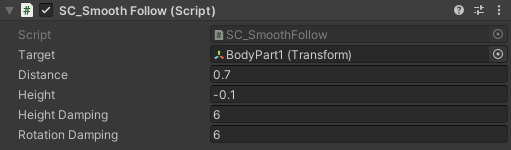
- SC_SmoothFollow स्क्रिप्ट को "BodyPart2" क्षेत्र में संलग्न करें और इसके मानों को नीचे स्क्रीनशॉट के समान सेट करें:
नियंत्रक अब तैयार है, चारों ओर घूमने के लिए डब्ल्यू, ए, एस और डी का उपयोग करें और कूदने के लिए स्पेस का उपयोग करें।
स्रोत Unity पैकेज नीचे उपलब्ध है।