एकता में अंतरिक्ष यान नियंत्रक
इस ट्यूटोरियल में, मैं दिखाऊंगा कि Unity में स्पेसशिप कंट्रोलर कैसे बनाया जाता है।
चलो शुरू करें!
कदम
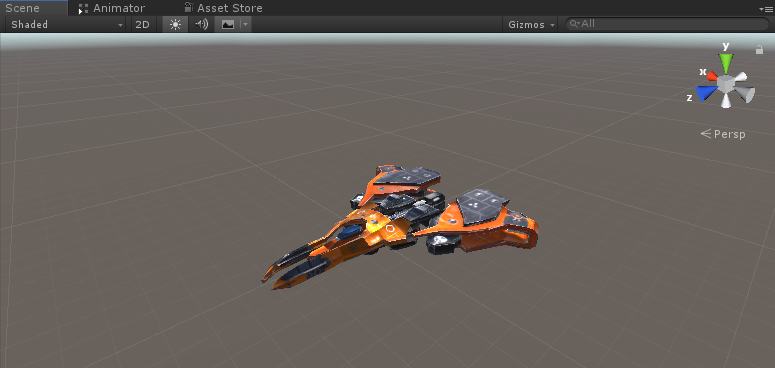
- स्पेसशिप मॉडल को अपने दृश्य में रखें

- एक नया गेमऑब्जेक्ट बनाएं, इसे कॉल करें "Spaceship"
- स्पेसशिप मॉडल को "Spaceship" ऑब्जेक्ट के अंदर ले जाएं और उसकी स्थिति को (0, 0, 0) में बदलें
- एक नई स्क्रिप्ट बनाएं, इसे "SC_SpaceshipController" कहें और इसके अंदर नीचे दिया गया कोड पेस्ट करें:
SC_SpaceshipController.cs
using System.Collections;
using System.Collections.Generic;
using UnityEngine;

[RequireComponent(typeof(Rigidbody))]

public class SC_SpaceshipController : MonoBehaviour
{
    public float normalSpeed = 25f;
    public float accelerationSpeed = 45f;
    public Transform cameraPosition;
    public Camera mainCamera;
    public Transform spaceshipRoot;
    public float rotationSpeed = 2.0f;
    public float cameraSmooth = 4f;
    public RectTransform crosshairTexture;

    float speed;
    Rigidbody r;
    Quaternion lookRotation;
    float rotationZ = 0;
    float mouseXSmooth = 0;
    float mouseYSmooth = 0;
    Vector3 defaultShipRotation;

    // Start is called before the first frame update
    void Start()
    {
        r = GetComponent<Rigidbody>();
        r.useGravity = false;
        lookRotation = transform.rotation;
        defaultShipRotation = spaceshipRoot.localEulerAngles;
        rotationZ = defaultShipRotation.z;

        Cursor.lockState = CursorLockMode.Locked;
        Cursor.visible = false;
    }

    void FixedUpdate()
    {
        //Press Right Mouse Button to accelerate
        if (Input.GetMouseButton(1))
        {
            speed = Mathf.Lerp(speed, accelerationSpeed, Time.deltaTime * 3);
        }
        else
        {
            speed = Mathf.Lerp(speed, normalSpeed, Time.deltaTime * 10);
        }

        //Set moveDirection to the vertical axis (up and down keys) * speed
        Vector3 moveDirection = new Vector3(0, 0, speed);
        //Transform the vector3 to local space
        moveDirection = transform.TransformDirection(moveDirection);
        //Set the velocity, so you can move
        r.velocity = new Vector3(moveDirection.x, moveDirection.y, moveDirection.z);

        //Camera follow
        mainCamera.transform.position = Vector3.Lerp(mainCamera.transform.position, cameraPosition.position, Time.deltaTime * cameraSmooth);
        mainCamera.transform.rotation = Quaternion.Lerp(mainCamera.transform.rotation, cameraPosition.rotation, Time.deltaTime * cameraSmooth);

        //Rotation
        float rotationZTmp = 0;
        if (Input.GetKey(KeyCode.A))
        {
            rotationZTmp = 1;
        }
        else if (Input.GetKey(KeyCode.D))
        {
            rotationZTmp = -1;
        }
        mouseXSmooth = Mathf.Lerp(mouseXSmooth, Input.GetAxis("Mouse X") * rotationSpeed, Time.deltaTime * cameraSmooth);
        mouseYSmooth = Mathf.Lerp(mouseYSmooth, Input.GetAxis("Mouse Y") * rotationSpeed, Time.deltaTime * cameraSmooth);
        Quaternion localRotation = Quaternion.Euler(-mouseYSmooth, mouseXSmooth, rotationZTmp * rotationSpeed);
        lookRotation = lookRotation * localRotation;
        transform.rotation = lookRotation;
        rotationZ -= mouseXSmooth;
        rotationZ = Mathf.Clamp(rotationZ, -45, 45);
        spaceshipRoot.transform.localEulerAngles = new Vector3(defaultShipRotation.x, defaultShipRotation.y, rotationZ);
        rotationZ = Mathf.Lerp(rotationZ, defaultShipRotation.z, Time.deltaTime * cameraSmooth);

        //Update crosshair texture
        if (crosshairTexture)
        {
            crosshairTexture.position = mainCamera.WorldToScreenPoint(transform.position + transform.forward * 100);
        }
    }
}- SC_SpaceshipController स्क्रिप्ट को "Spaceship" ऑब्जेक्ट से जोड़ें
- एक नया गेमऑब्जेक्ट बनाएं, इसे "CameraPosition" कहें और इसे "Spaceship" ऑब्जेक्ट के अंदर ले जाएं
- मुख्य कैमरे को "CameraPosition" ऑब्जेक्ट के अंदर ले जाएं और उसकी स्थिति को (0, 0, 0) में बदलें
- जब तक आप परिणाम से खुश नहीं हो जाते तब तक "CameraPosition" ऑब्जेक्ट स्थिति में बदलाव करें

- मुख्य कैमरे को "Spaceship" ऑब्जेक्ट के बाहर ले जाएँ
- SC_SpaceshipController में कैमरा स्थिति, मुख्य कैमरा और स्पेसशिप रूट (यह एक स्पेसशिप मॉडल का रूपांतरण होना चाहिए) वेरिएबल निर्दिष्ट करें

- एक नया यूआई कैनवास बनाएं (गेमऑब्जेक्ट -> यूआई -> कैनवास)
- कैनवास ऑब्जेक्ट -> यूआई -> इमेज पर राइट-क्लिक करें
- नई छवि के संरेखण को शीर्ष-बाईं ओर बदलें

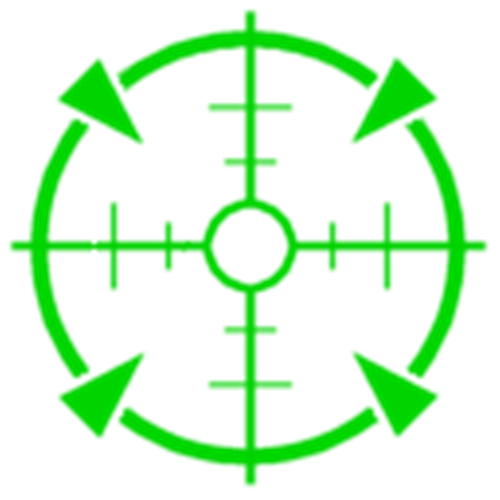
- छवि के नीचे स्प्राइट असाइन करें

- अंत में, नई बनाई गई छवि को SC_SpaceshipController में क्रॉसहेयर टेक्सचर पर असाइन करें

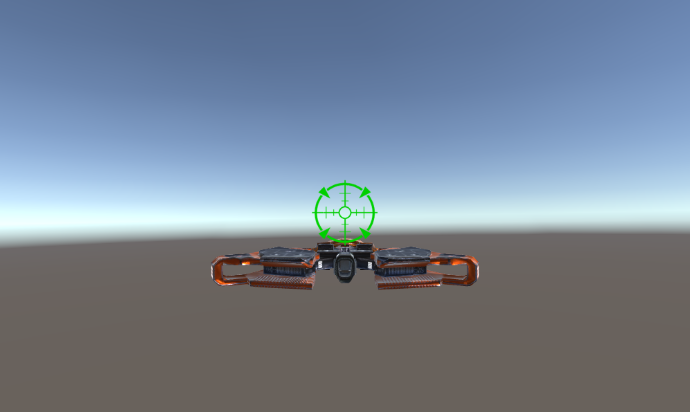
स्पेसशिप नियंत्रक तैयार है. चारों ओर देखने के लिए माउस का उपयोग करें, Z-अक्ष के साथ घूमने के लिए A/D और गति बढ़ाने के लिए दाएँ माउस बटन का उपयोग करें।