यूनिटी के लिए स्प्लिट-स्क्रीन सेम-पीसी मल्टीप्लेयर ट्यूटोरियल
इस ट्यूटोरियल में, मैं दिखाऊंगा कि Unity में स्प्लिट-स्क्रीन मल्टीप्लेयर कैसे बनाया जाए।
कदम
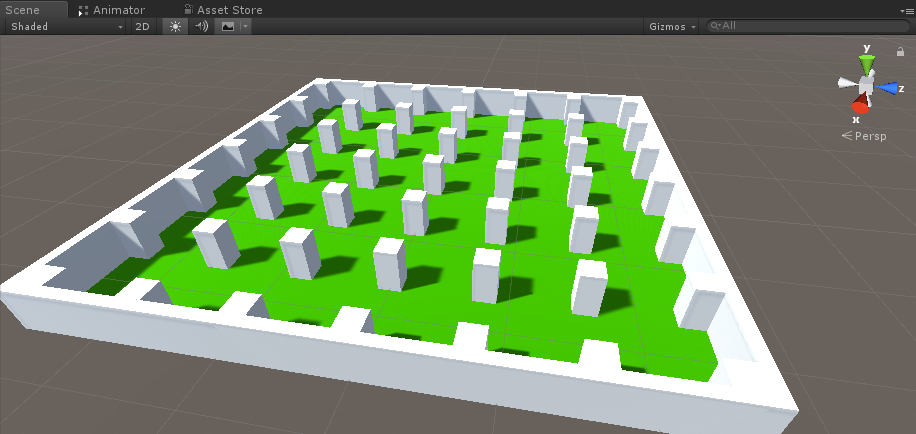
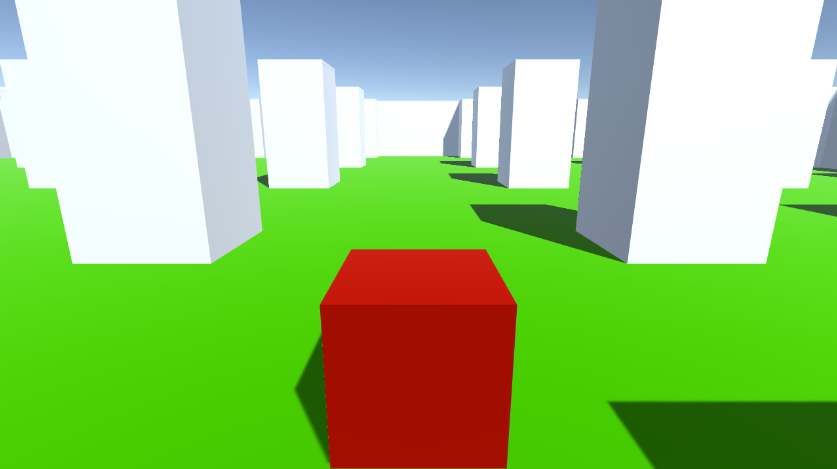
- अपने स्तर से एक दृश्य खोलें (मेरे मामले में यह कुछ घनों के साथ एक सरल दृश्य होगा)
- एक नया गेमऑब्जेक्ट बनाएं और उसे कॉल करें "Player 1"
- एक नया क्यूब बनाएं और इसे "Player 1" ऑब्जेक्ट के अंदर ले जाएं (इसके बॉक्स कोलाइडर घटक को हटा दें)
- आंखों और मुंह के लिए कुछ और क्यूब्स बनाएं (उनके बॉक्स कोलाइडर घटकों को भी हटा दें)

- मुख्य कैमरे को "Player 1" ऑब्जेक्ट के अंदर ले जाएं और इसे एक क्यूब पर इंगित करें

- एक नई स्क्रिप्ट बनाएं, इसे "RigidbodyPlayerController" नाम दें और नीचे दिए गए कोड को इसके अंदर पेस्ट करें:
RigidbodyPlayerController.cs
using UnityEngine;
using System.Collections;

[RequireComponent(typeof(Rigidbody))]
[RequireComponent(typeof(CapsuleCollider))]

public class RigidbodyPlayerController : MonoBehaviour
{

    public enum PlayerControls { WASD, Arrows }
    public PlayerControls playerControls = PlayerControls.WASD;
    public float movementSpeed = 3f;
    public float rotationSpeed = 5f;

    Rigidbody r;
    float gravity = 10.0f;

    void Awake()
    {
        r = GetComponent<Rigidbody>();
        r.freezeRotation = true;
        r.useGravity = false;
    }

    // Update is called once per frame
    void FixedUpdate()
    {
        // Move Front/Back
        Vector3 targetVelocity = Vector3.zero;
        if ((playerControls == PlayerControls.WASD && Input.GetKey(KeyCode.W)) || (playerControls == PlayerControls.Arrows && Input.GetKey(KeyCode.UpArrow)))
        {
            targetVelocity.z = 1;
        }
        else if ((playerControls == PlayerControls.WASD && Input.GetKey(KeyCode.S)) || (playerControls == PlayerControls.Arrows && Input.GetKey(KeyCode.DownArrow)))
        {
            targetVelocity.z = -1;
        }
        targetVelocity = transform.TransformDirection(targetVelocity);
        targetVelocity *= movementSpeed;

        // Apply a force that attempts to reach our target velocity
        Vector3 velocity = r.velocity;
        Vector3 velocityChange = (targetVelocity - velocity);
        float maxVelocityChange = 10.0f;
        velocityChange.x = Mathf.Clamp(velocityChange.x, -maxVelocityChange, maxVelocityChange);
        velocityChange.z = Mathf.Clamp(velocityChange.z, -maxVelocityChange, maxVelocityChange);
        velocityChange.y = 0;
        r.AddForce(velocityChange, ForceMode.VelocityChange);

        // We apply gravity manually for more tuning control
        r.AddForce(new Vector3(0, -gravity * r.mass, 0));


        // Rotate Left/Right
        if ((playerControls == PlayerControls.WASD && Input.GetKey(KeyCode.A)) || (playerControls == PlayerControls.Arrows && Input.GetKey(KeyCode.LeftArrow)))
        {
            transform.Rotate(new Vector3(0, -14, 0) * Time.deltaTime * rotationSpeed, Space.Self);
        }
        else if ((playerControls == PlayerControls.WASD && Input.GetKey(KeyCode.D)) || (playerControls == PlayerControls.Arrows && Input.GetKey(KeyCode.RightArrow)))
        {
            transform.Rotate(new Vector3(0, 14, 0) * Time.deltaTime * rotationSpeed, Space.Self);
        }
    }
}- RigidbodyPlayerController स्क्रिप्ट को को "Player 1" में संलग्न करें (आप देखेंगे कि इसमें 2 और घटक, रिगिडबॉडी और कैप्सूल कोलाइडर शामिल होंगे)
- कैप्सूल कोलाइडर में तब तक बदलाव करें जब तक यह क्यूब आयामों से मेल न खा जाए।
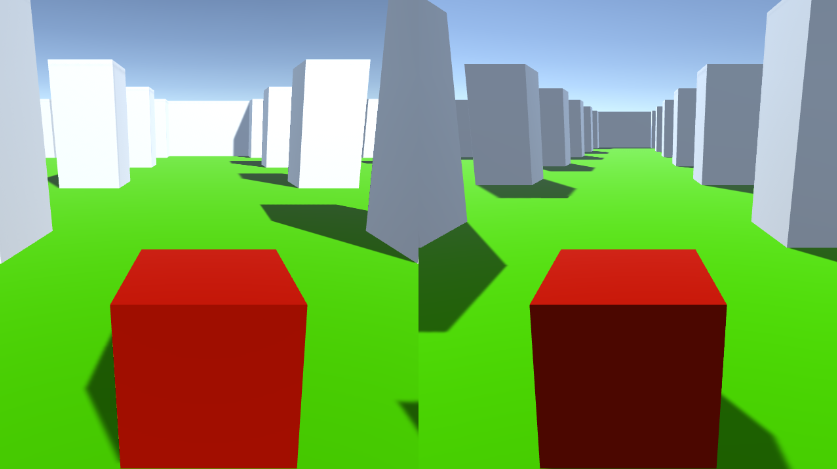
2-प्लेयर स्प्लिट-स्क्रीन बनाने के चरण नीचे दिए गए हैं:
- "Player 1" ऑब्जेक्ट को डुप्लिकेट करें और इसका नाम बदलकर "Player 2" कर दें।
- RigidbodyPlayerController में प्लेयर नियंत्रण को "Arrows" में बदलें।

- "Player 1" कैमरे के व्यूपोर्ट रेक्ट मान को X: 0 Y: 0.5 W: 1 H: 0.5 में बदलें
![]()
- "Player 2" कैमरे के व्यूपोर्ट रेक्ट मान को X: 0 Y: 0 W: 1 H: 0.5 में बदलें
![]()

वैकल्पिक रूप से, आप नीचे दिए गए मान सेट करके एक लंबवत स्प्लिट-स्क्रीन सेट कर सकते हैं:
X: 0 Y: 0 W: 0.5 H: 1 कैमरा 1 के लिए
X: 0.5 Y: 0 W: 0.5 H: 1 कैमरा 2 के लिए